Manual · chapter 1 of 10
Getting started
This chapter takes you from the first launch to your first monitored service. It only takes a few minutes. If you don’t have the app yet, start with the Installation page.
First launch
When you start the app for the first time, the system may ask for a few permissions:
| System | What it asks for | What for |
|---|---|---|
| macOS, iPhone, iPad | notifications, sounds and badges | alarms about service outages and recoveries |
| iPhone, iPad, macOS 15 and later | access to the local network | checking devices on your network: the router, NAS, printer |
| Android 13 and later | notifications | alarms and the permanent monitoring notification |
Allow them if you want to receive alarms and check devices on your local network. You can change these permissions later in the system settings.
Tip: Windows doesn’t ask for permissions — notifications work right away. You can turn them off in the system settings: Settings → System → Notifications.
App layout
The app has four tabs:
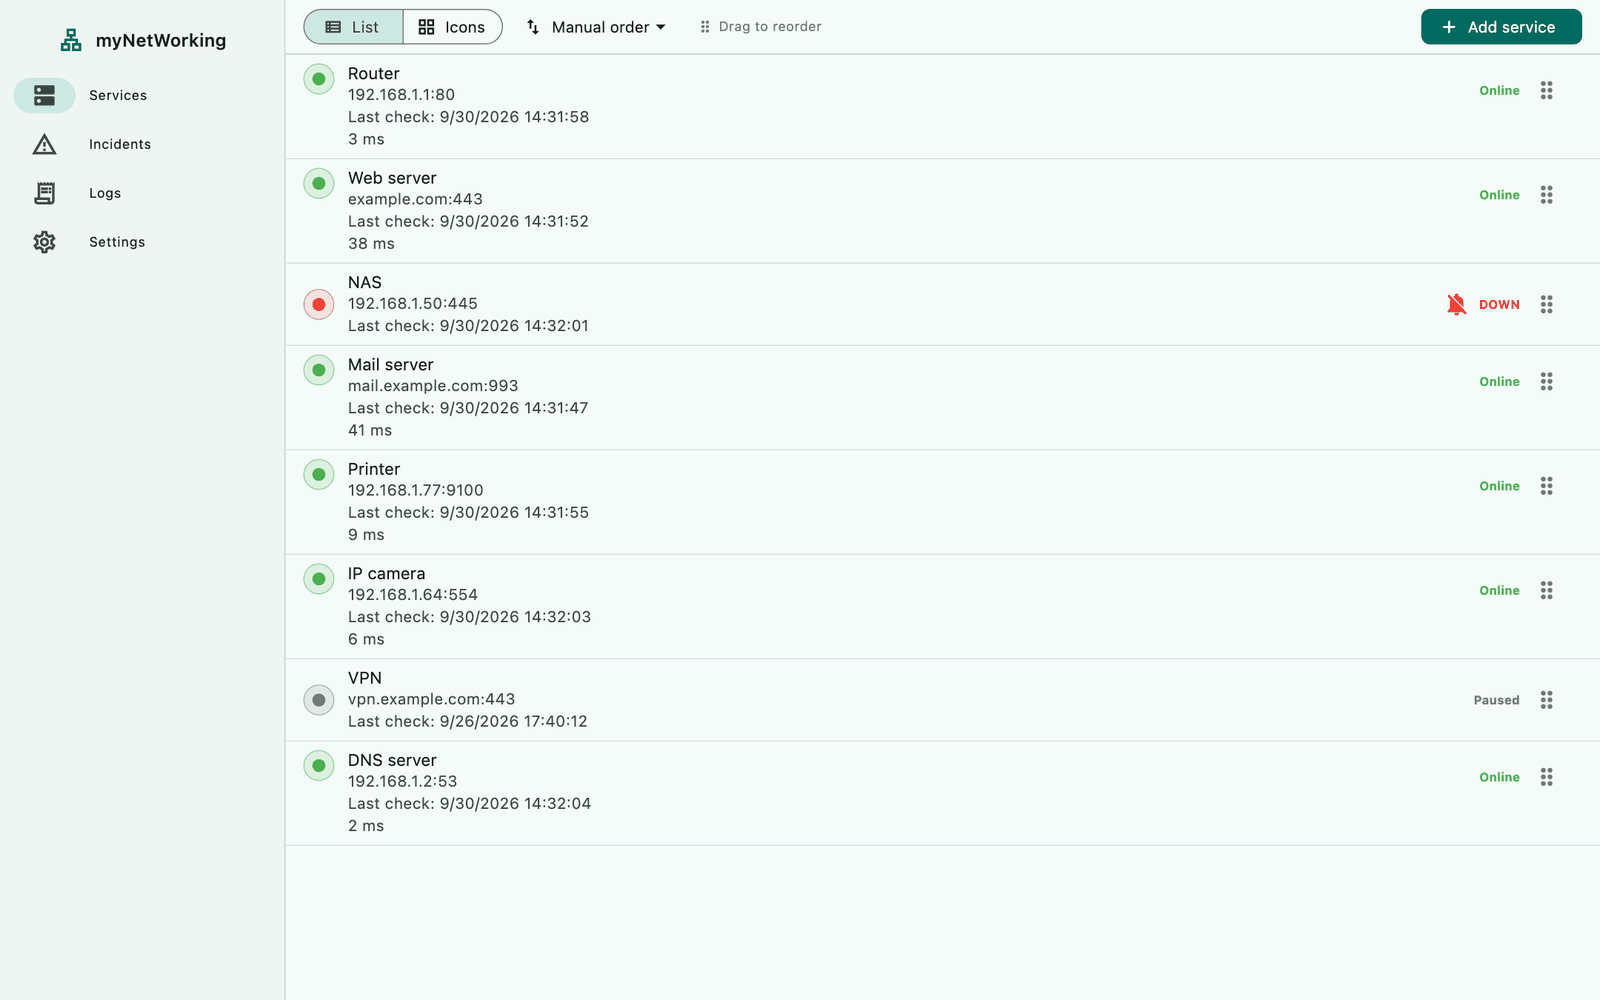
Services — the list of monitored services with their status and response time;
Incidents — the outage history, with the “Current” and “Archive” tabs;
Logs — the chronological record of events;
Settings — language, intervals, reference servers and information about the app.
On a phone and in a window narrower than 720 pixels, the tabs are in the bottom bar. In a wider window and on a tablet, they move to the sidebar, and from 1100 pixels their names appear next to the icons.
Add your first service
Start with a device that you know is working, for example your router.
On the Services tab, click Add service. On a phone, once the list already contains services, use the round + button in the bottom-right corner.
In the Name (optional) field, type e.g.
Router. You can leave it empty — the service will then be shown by its address.In the Host or IP address field, type the address of the device, e.g.
192.168.1.1.In the Port field, type the port number, e.g.
80for the router’s admin panel.Click Save.
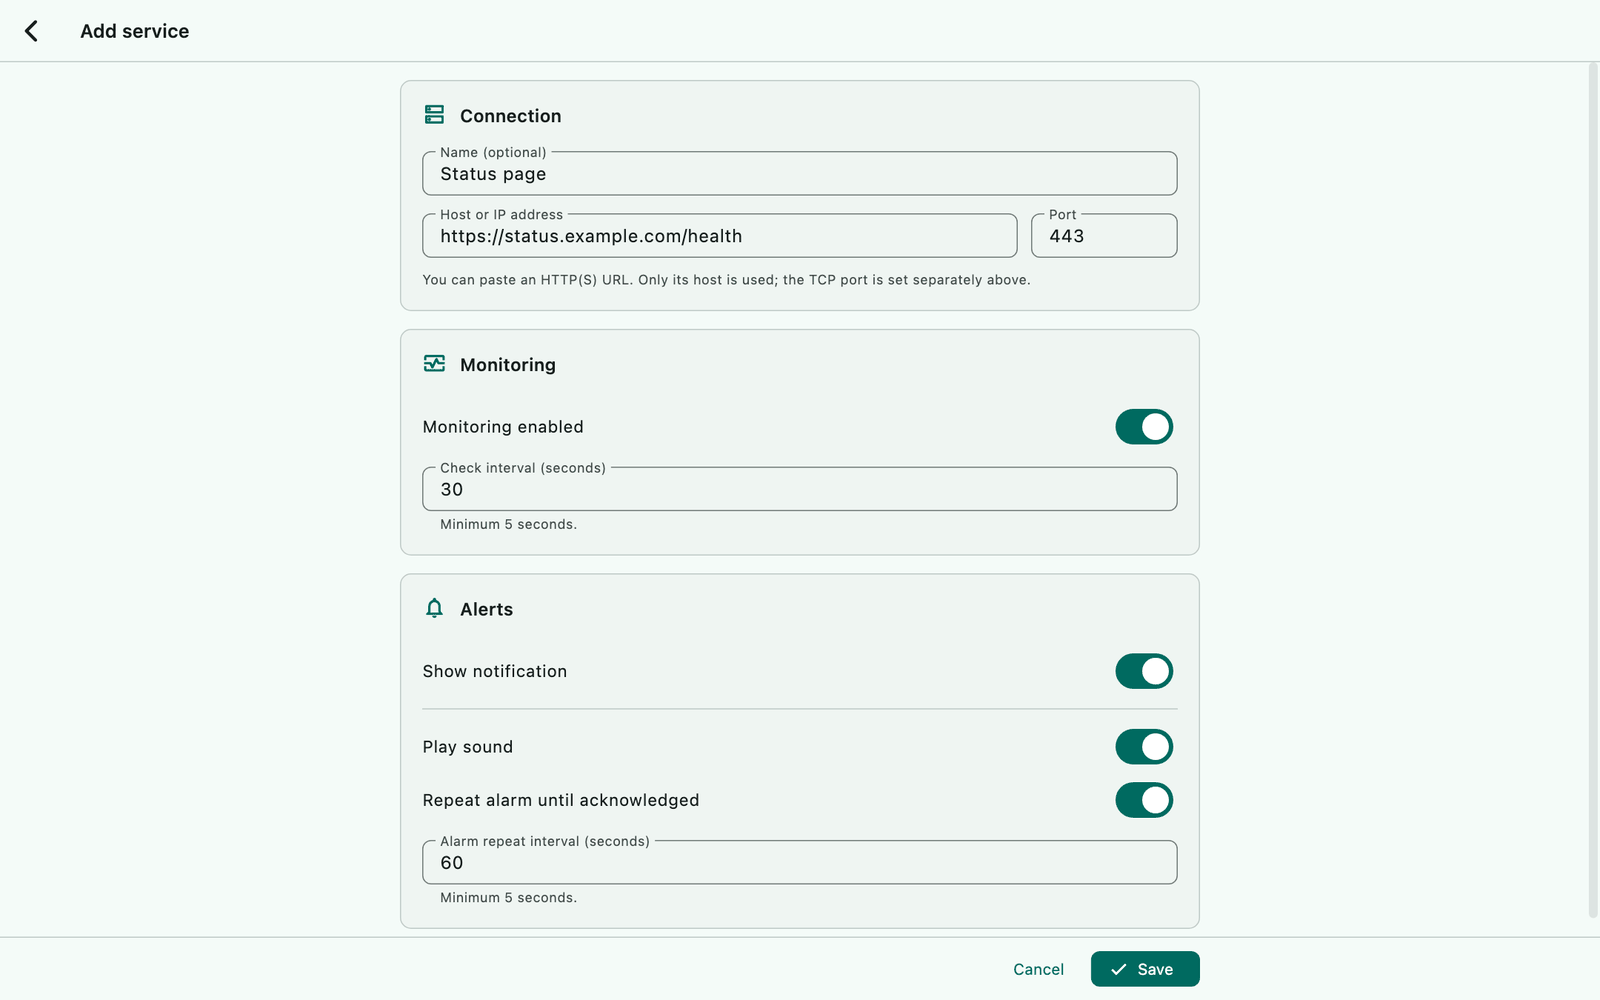
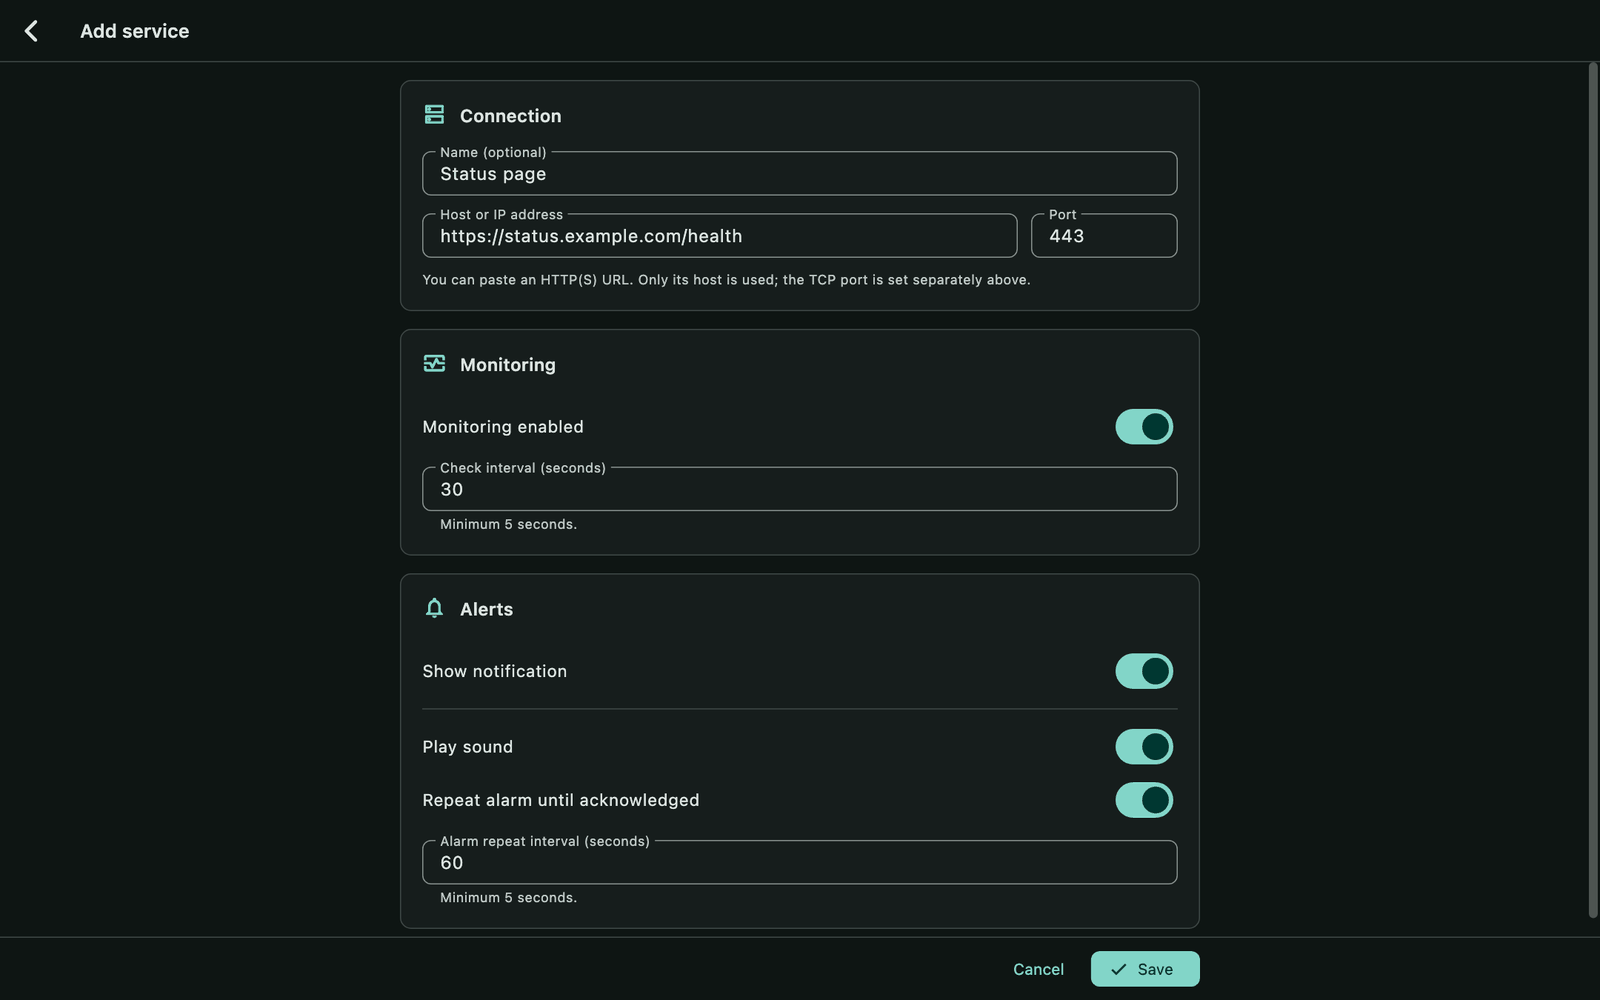
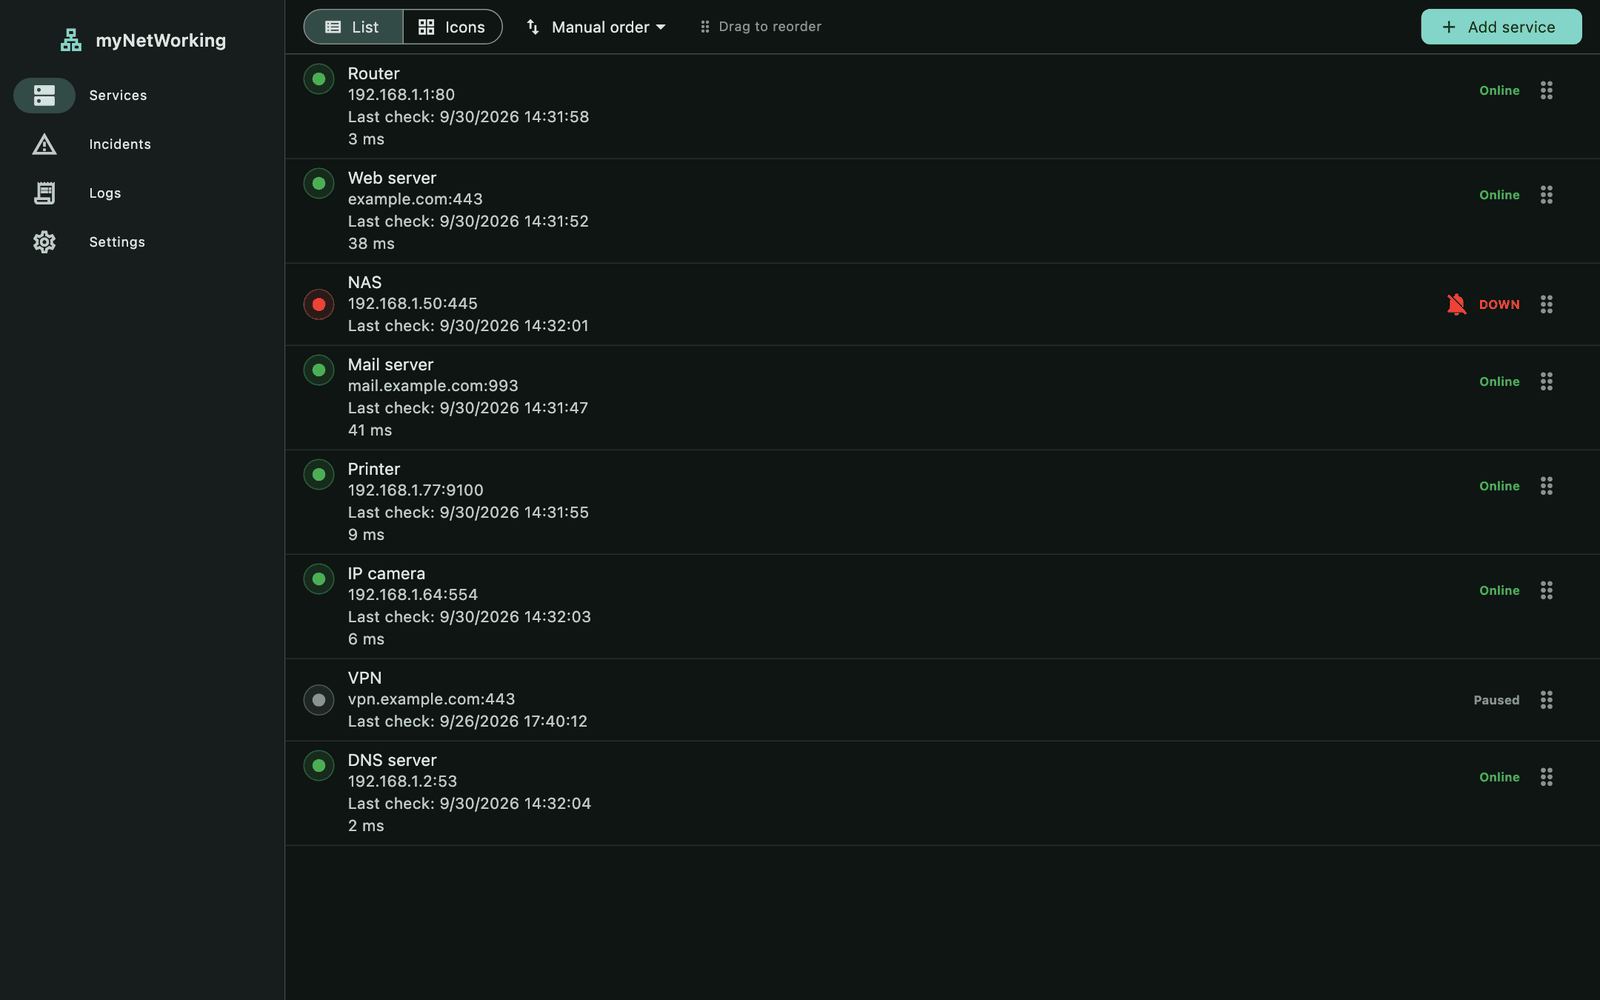
The app checks the new service right away. If the device answers, after a moment the service shows the green “Online” status and the response time in milliseconds. By default, the service is checked every 30 seconds.
New in 1.1.0: the service name is optional, and in the host field you can paste a website address that starts with
http://orhttps://— the app takes the host name from it. You still enter the port separately.
Example services
| What | Host | Port |
|---|---|---|
| router | 192.168.1.1 | 80 or 443 |
| website | example.com or https://example.com | 443 |
| NAS (file sharing) | 192.168.1.50 | 445 |
| network printer | 192.168.1.77 | 9100 |
| server with SSH access | server.example.com | 22 |
The addresses on your network will be different — you’ll find them in your router’s admin panel or in the device’s settings.
Next steps
Learn what the statuses mean in the Service statuses chapter.
Set up alarms for important services — see the Alerts and notifications chapter.
Find out how the app works on your system after you close the window — see the Running in the background chapter.
On a computer, you can make the app start with the system: Settings → General → Launch at system startup.
myNetWorking 1.1.0 · Features added in 1.1.0 are marked in the text.