Manual · chapter 2 of 10
Services
A service is a host and a TCP port that myNetWorking checks regularly. You can see all your services on the Services tab. This chapter describes the service form, the rules for entering addresses and how to organize the list.
The service form
You add a new service with the Add service button (on a phone: the round + button). You edit an existing one by clicking its row or tile. The form has three sections:
| Section | Field or switch | Default | Rules |
|---|---|---|---|
| Connection | Name (optional) | empty | without a name, the service is shown as host:port |
| Connection | Host or IP address | empty | required; see the rules below |
| Connection | Port | empty | digits only, from 1 to 65535 |
| Monitoring | Monitoring enabled | on | off means the “Paused” status |
| Monitoring | Check interval (seconds) | 30 | at least 5 |
| Alerts | Show notification and the other switches | on | described in the Alerts and notifications chapter |
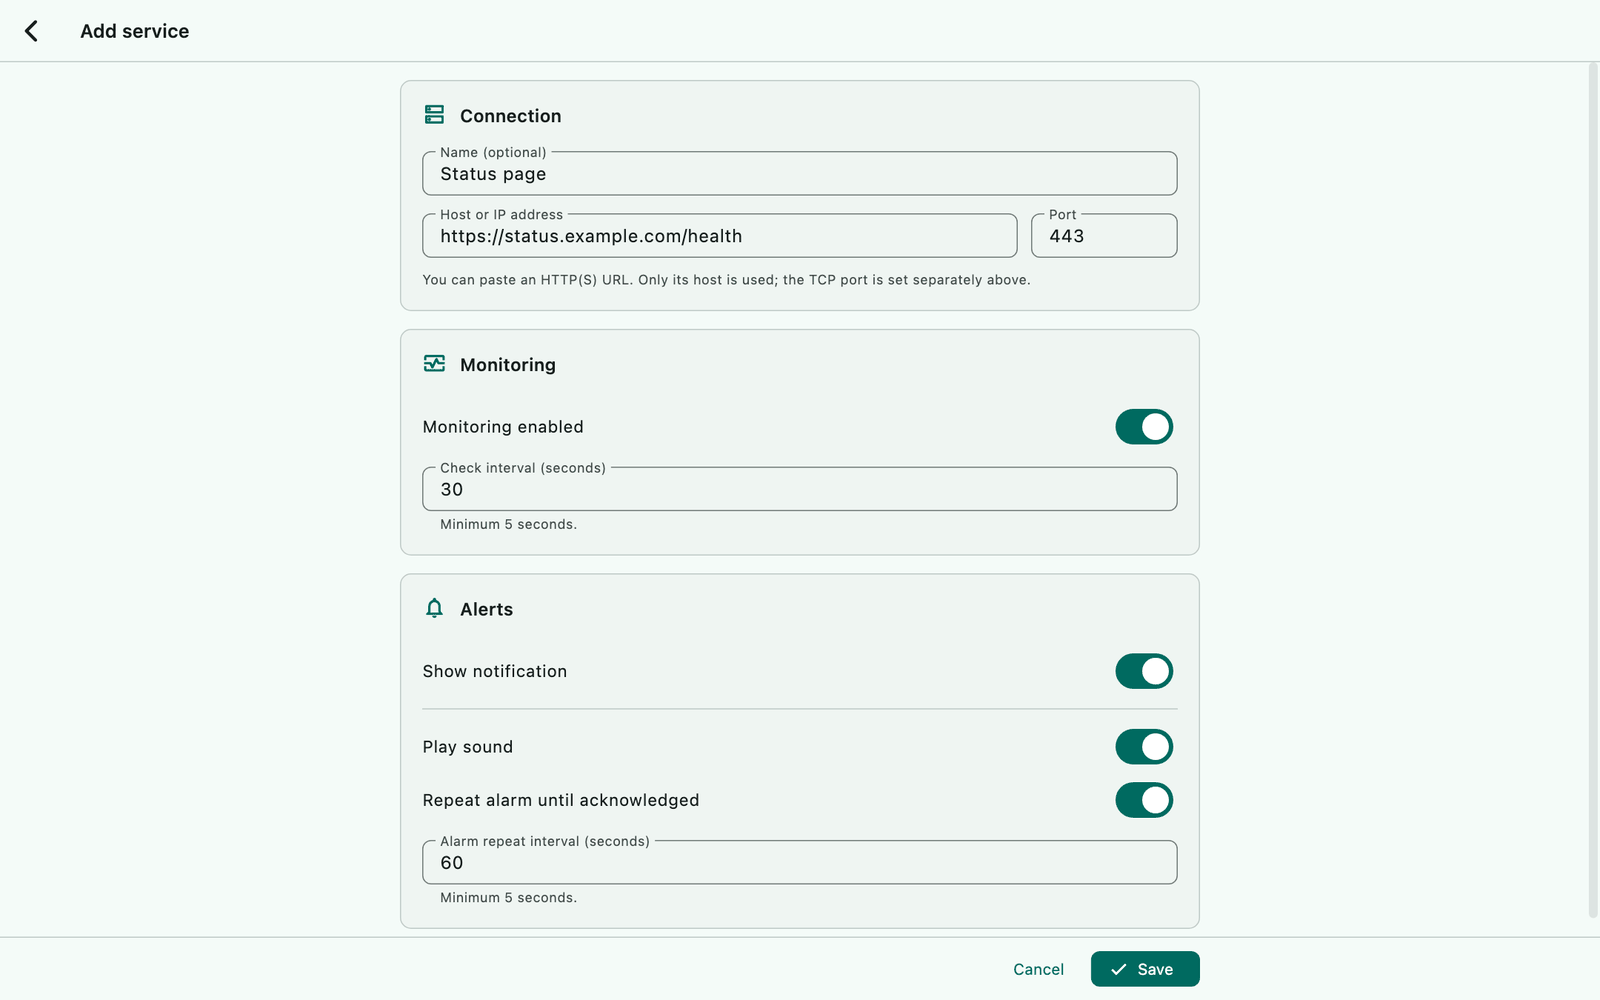
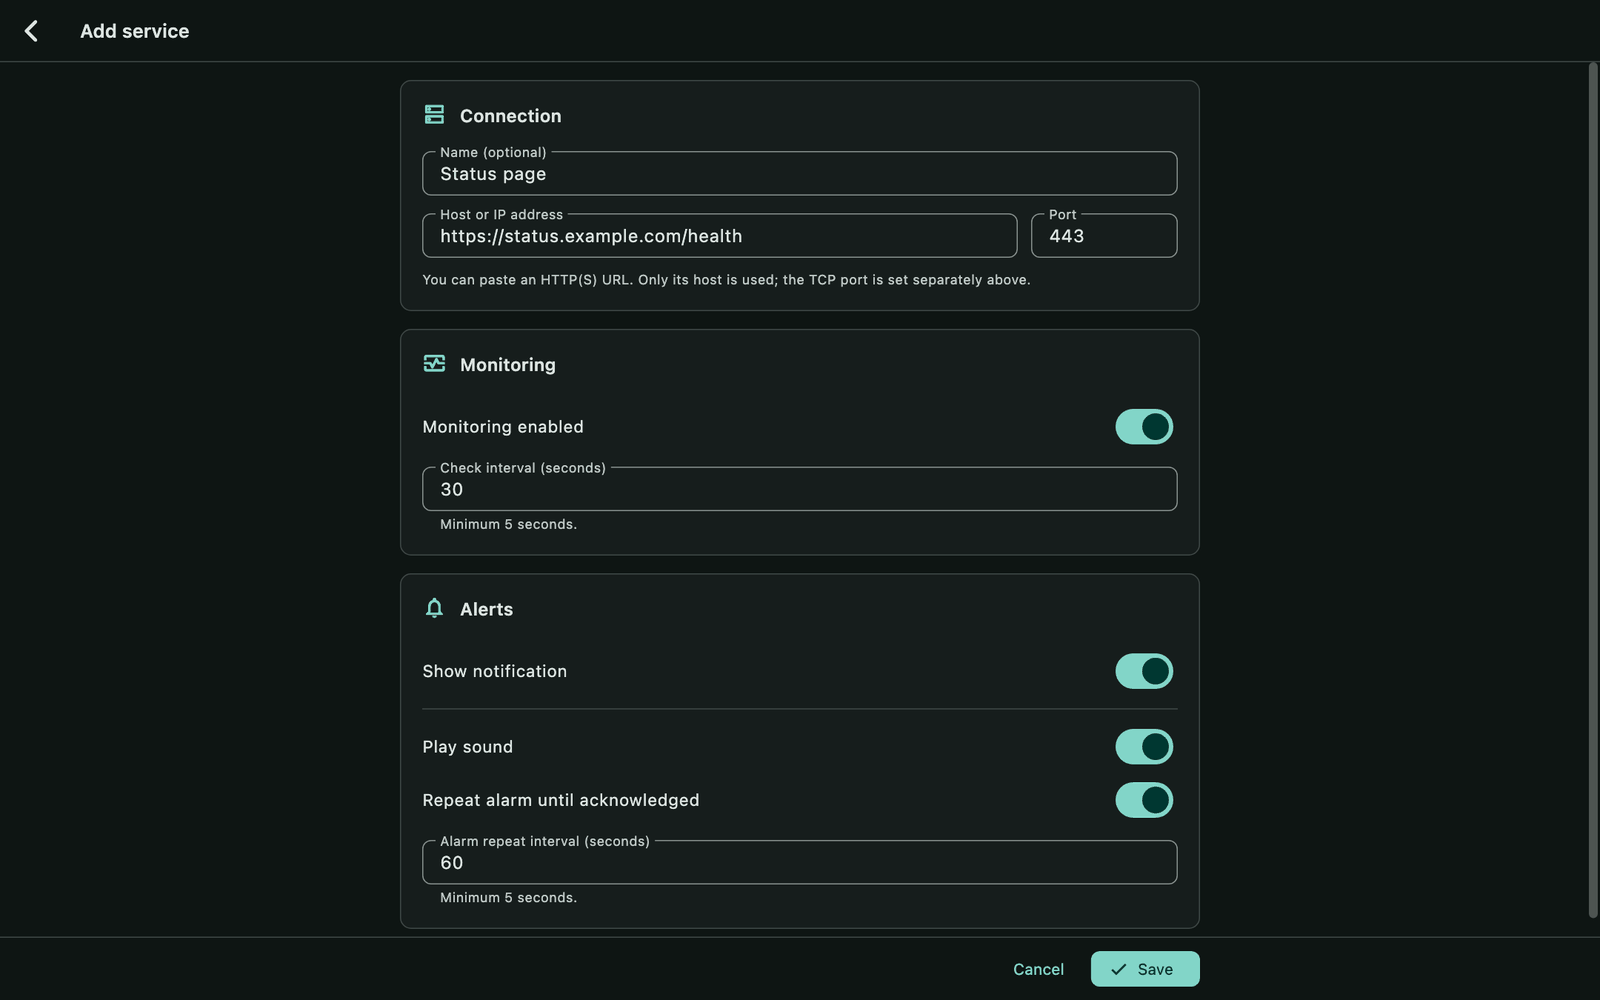
The Cancel and Save buttons are always visible at the bottom, even above the on-screen keyboard. The Enter key moves to the next field, and in the last field it saves the service.
New in 1.1.0: the form is divided into sections, a fixed bar holds the buttons, a progress indicator is shown while saving, and the service name is optional.
What to enter in the host field
The Host or IP address field accepts:
a host name, e.g.
example.com,server.example.comor a single-label name such asnasorlocalhost;an IPv4 address, e.g.
192.168.1.50;an IPv6 address, with or without square brackets, e.g.
2001:db8::1;a web address starting with
http://orhttps://— the app keeps only the host name.https://status.example.com/health?full=truebecomesstatus.example.com.
Spaces at the beginning and end are removed. You can add the same service (the same host and port) more than once.
Important: the port is not taken from the address. After pasting
https://…, enter the number in the Port field, usually 443. A port written in the address itself is ignored.
The app does not accept:
a port in the host field, e.g.
192.168.1.1:8080— the port has its own field;an address without
http(s)://that contains a slash,@,?or#, e.g.example.com/status;other protocols, e.g.
ftp://, or addresses with a user name;names with an underscore, a trailing dot or accented (non-ASCII) letters — enter a domain with such letters in its punycode form, which starts with
xn--.
Messages shown next to the fields:
| Situation | Message |
|---|---|
| empty host field | Required |
| invalid host | Enter a valid host, IP, or HTTP(S) address |
| port out of range | Enter a port between 1 and 65535 |
| interval too short | Enter a value of at least 5 |
If you click Save while there is an error, the app takes you to the first field with an error.
New in 1.1.0: pasting
http(s)://addresses and host validation with clear messages.
Saving
While saving, the button shows “Saving…” and the form is locked, so a double click can’t add the service twice. If saving fails, the message “Could not save the service. Please try again.” appears at the bottom.
After saving, the form closes and the app checks the service immediately. A new service goes to the end of the list. That is why the simplest way to check a service right away is to open it and click Save — there is no separate “check now” button.
Pausing and resuming
Open the service.
Turn off Monitoring enabled.
Click Save.
The service shows the gray “Paused” status and is not checked, and its running alarm stops. If an incident was ongoing, it is closed and the log says “Monitoring of service … paused — its ongoing incident was closed after …”. On Android, paused services are not counted in the permanent notification. When you turn the switch back on and save, the service is checked immediately.
Deleting
Open the service.
Click the red trash icon in the top-right corner.
Confirm with the Delete button in the “Delete service?” dialog.
All incidents of the service, current and archived, are deleted together with it, and its alarm and notification are turned off. Log entries remain.
List and icons
The toolbar above the services appears when you have at least one service.
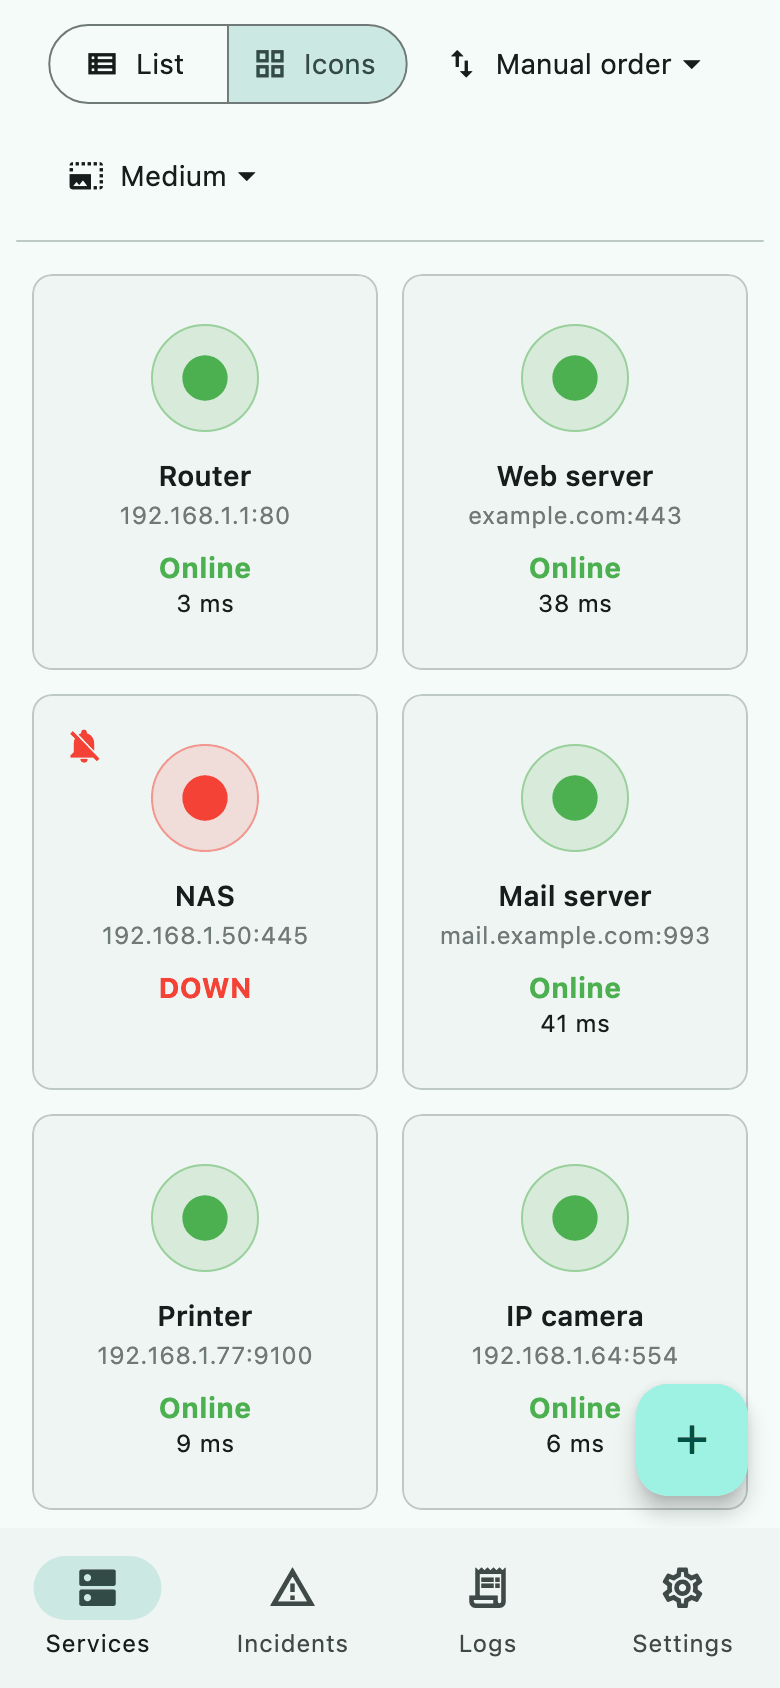
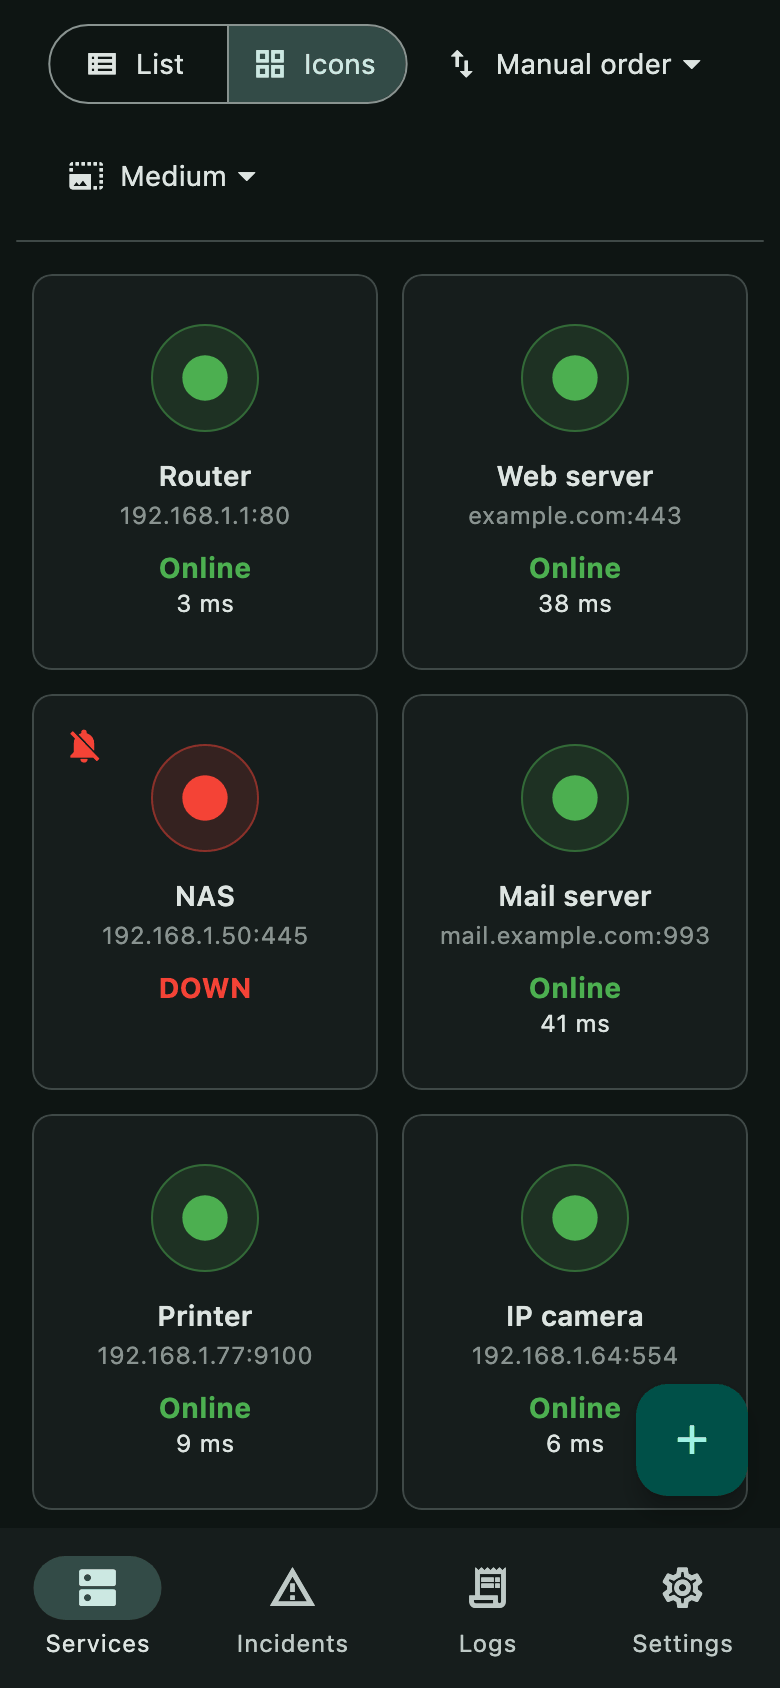
List / Icons switches the view. A list row shows the status, name, address, time of the last check and — with the “Online” status — the response time.
Icon size (icons view only): Small, Medium or Large. The tiles are arranged in as many columns as the window width allows.
Clicking a row or a tile opens the service editor.
Sorting and order
The Sort services menu has three modes:
| Mode | Order |
|---|---|
| Manual order (default) | your own order; new services go to the end |
| Name | alphabetically by name (or by address if the service has no name), not case-sensitive |
| Last incident | by the start of the service’s most recent incident, archived ones included |
When sorting by name or by last incident, a direction button appears next to the menu: Ascending or Descending. In Last incident mode, ascending means that services with the oldest last incident come first; services that have not had an incident yet always come last.
You set your own order in Manual order mode:
in the list, drag the ⋮⋮ handle at the right end of the row — with the mouse or your finger;
in the icons view, drag a tile onto another tile. On a computer, press and drag; on a touch screen, touch and hold the tile and only then drag it. Near the top and bottom edges, the view scrolls automatically.
The order is saved immediately. The app also remembers the view, icon size and sorting after a restart.
New in 1.1.0: the icons view in three sizes, sorting by name and by last incident, and reordering by dragging.
myNetWorking 1.1.0 · Features added in 1.1.0 are marked in the text.